
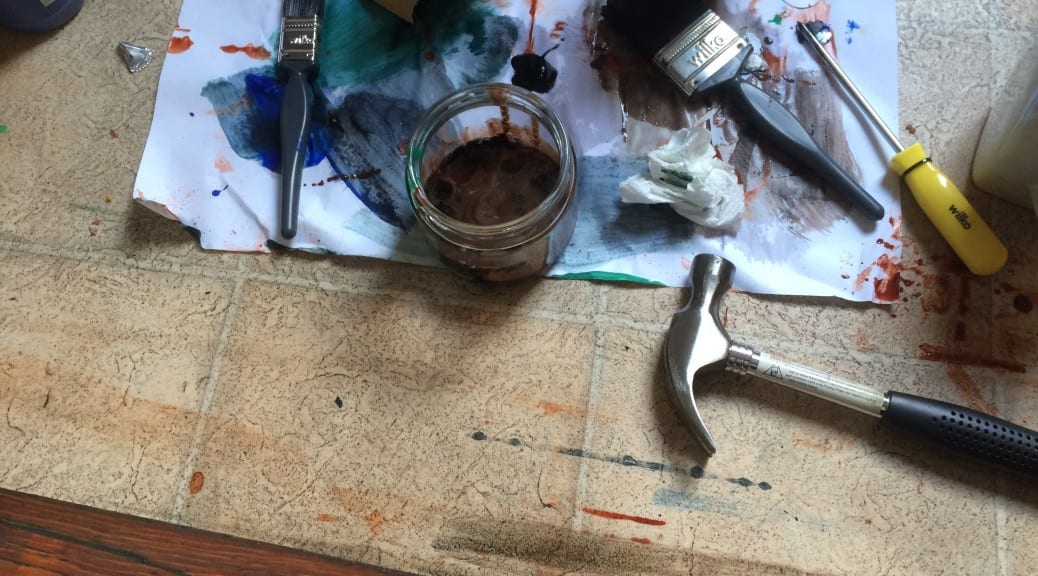
One of my key props that helps illustrate the story/location is the plank of wood over the swamp. As such, I wanted the plank to look authentic to how I remembered it. After purchasing the wood, I also purchased some mahogany wood varnish, sanding paper and various paints.
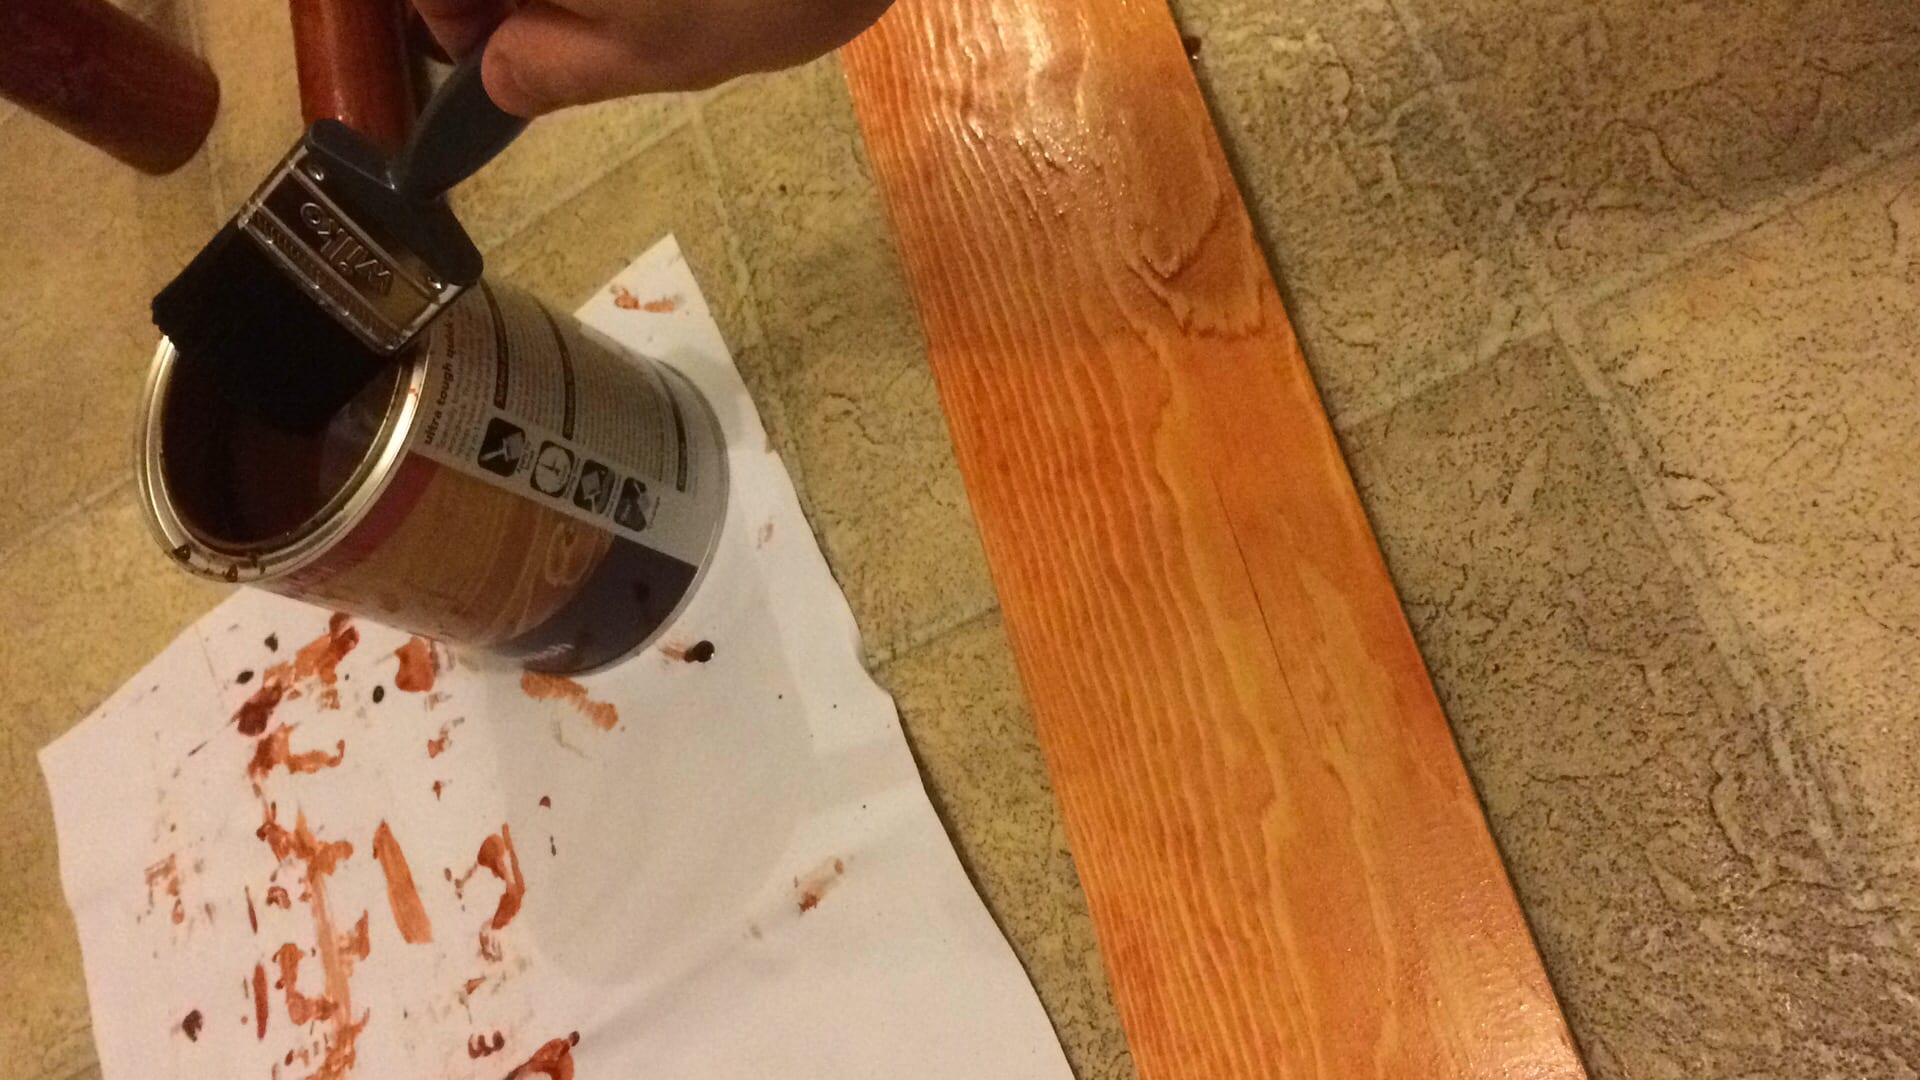
The first step I took was to apply two layers of the varnish to the wood to give it a richer colour and appearance. However, as the image demonstrates below, this made the wood look too much like furniture – rather than a battered old plank of wood.
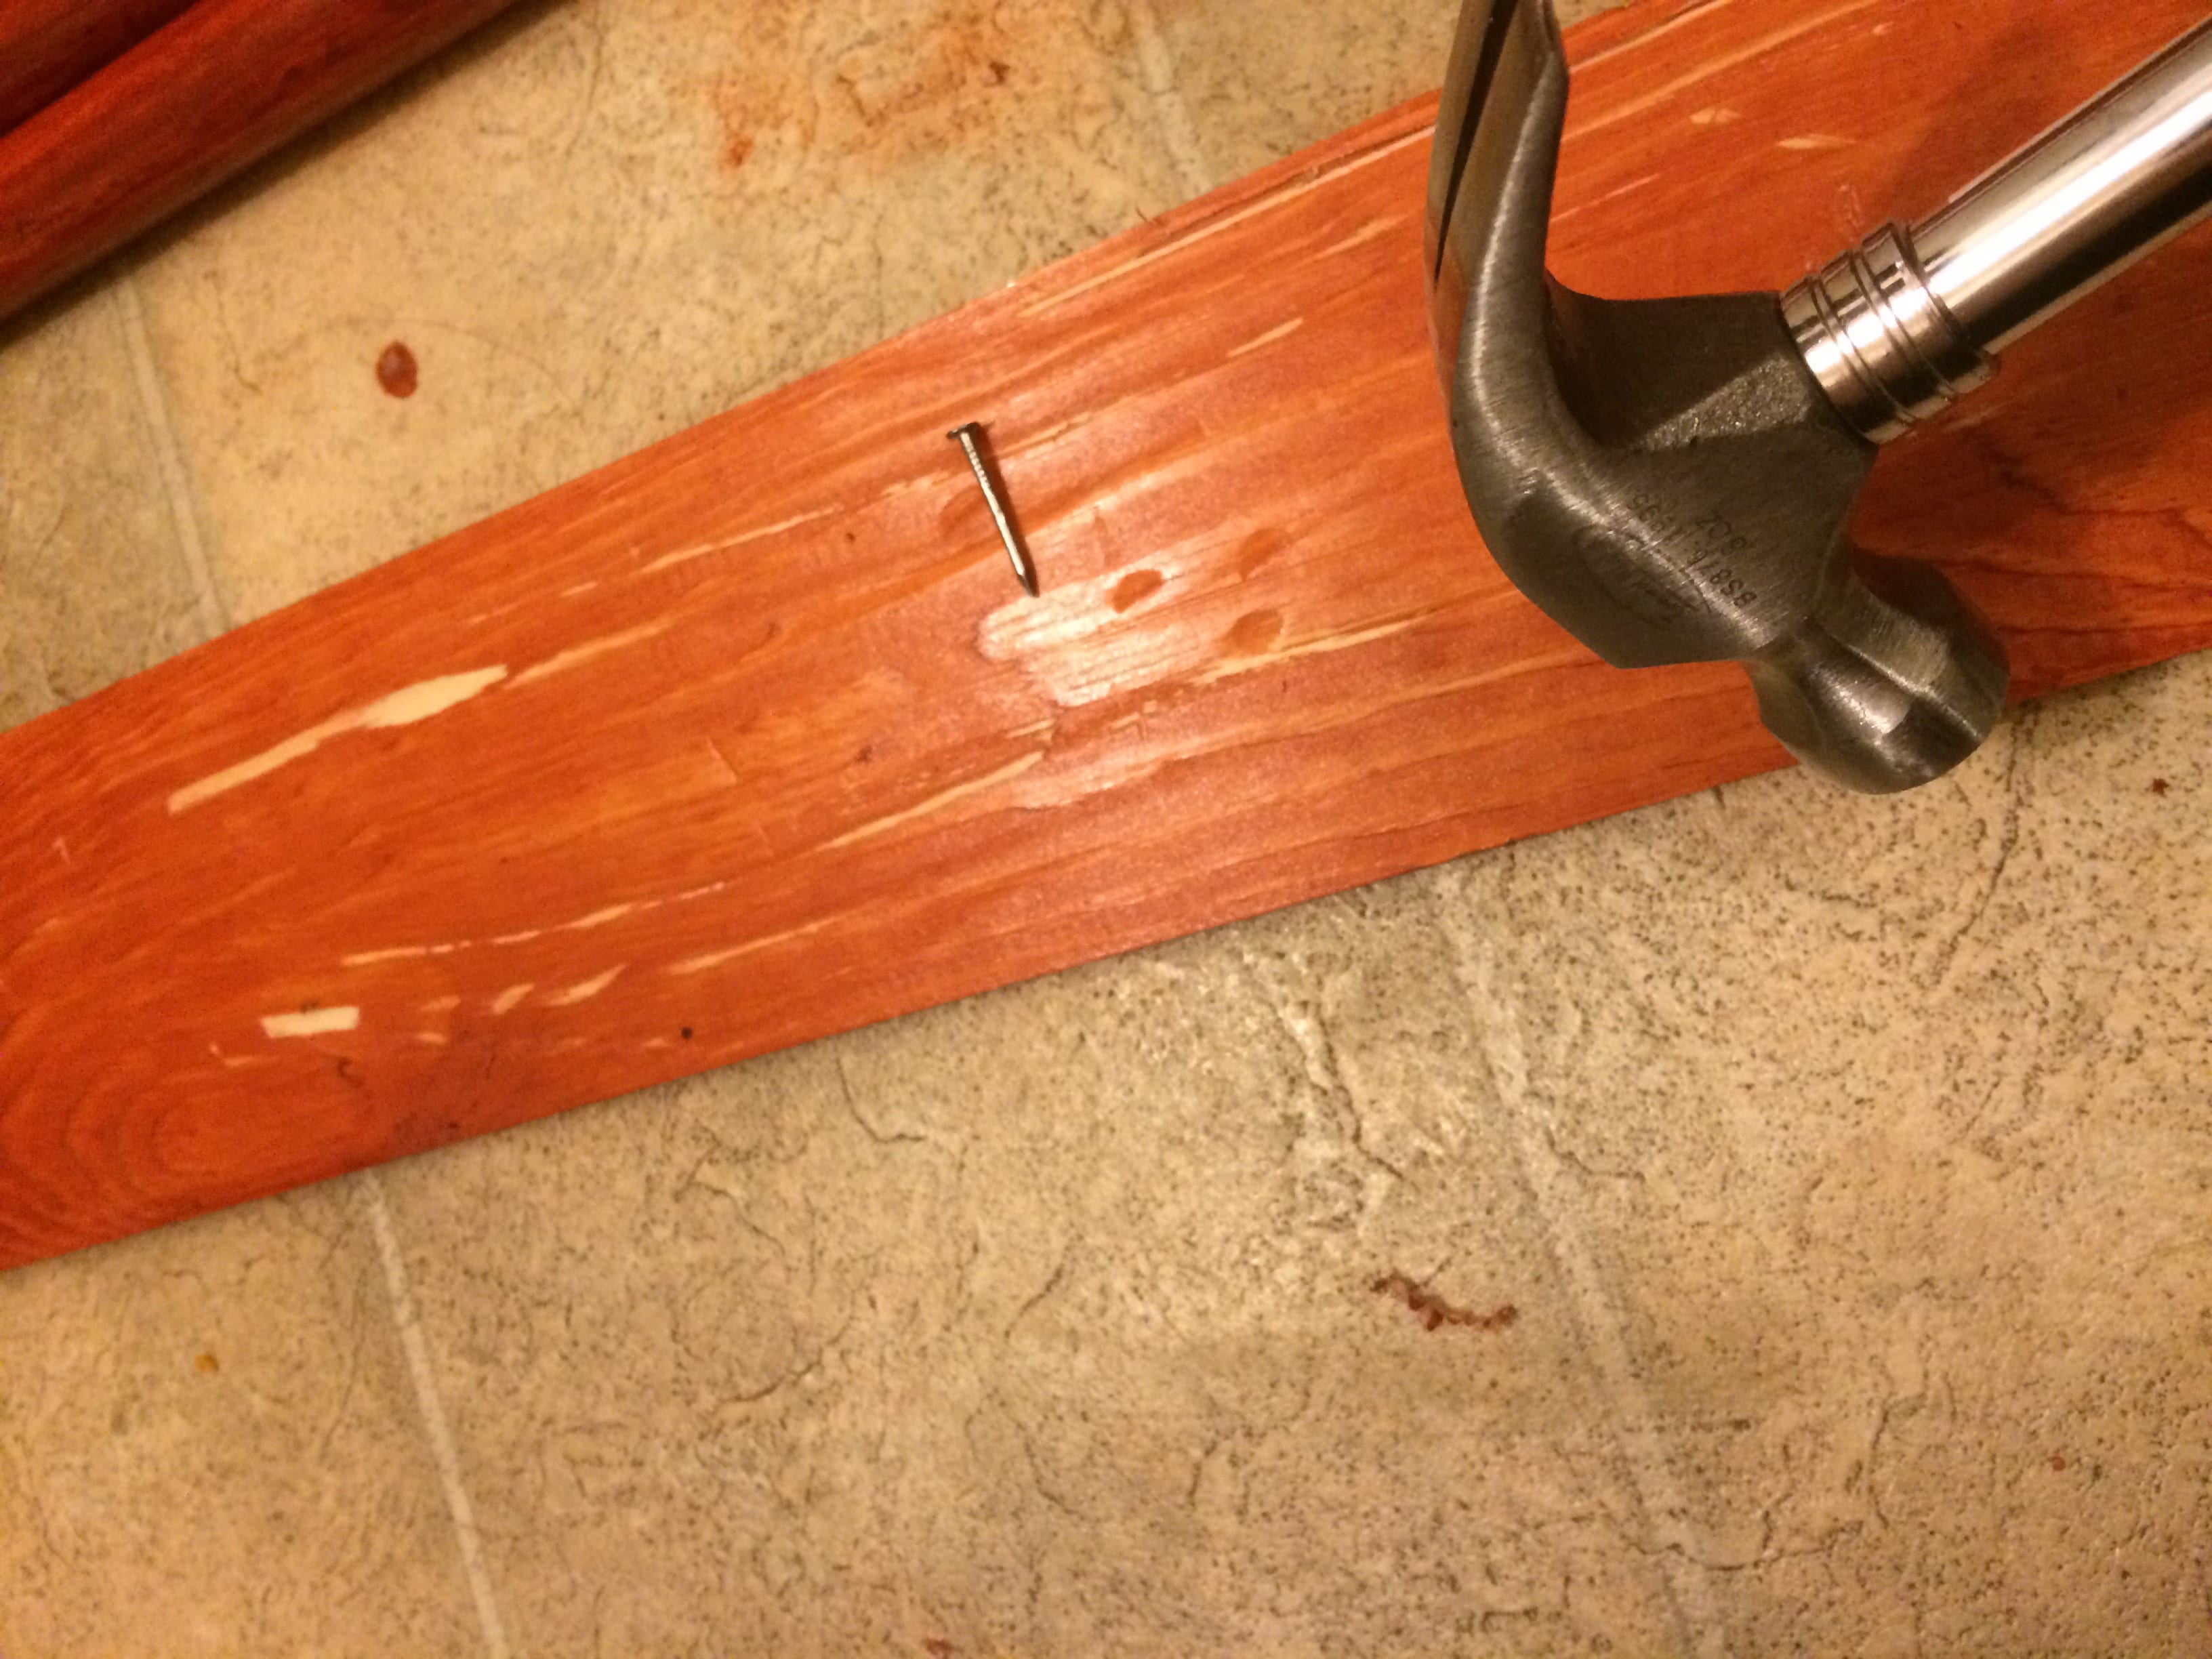
Therefore, the next process was to make the wood look old and damaged. Using a hammer, nails, sanding paper and my keys, I scratched, smoothed down and dented the plank. This meant that when applying the next layer of paint or varnish, it would get caught in some of the more damaged areas, giving the wood more texture.
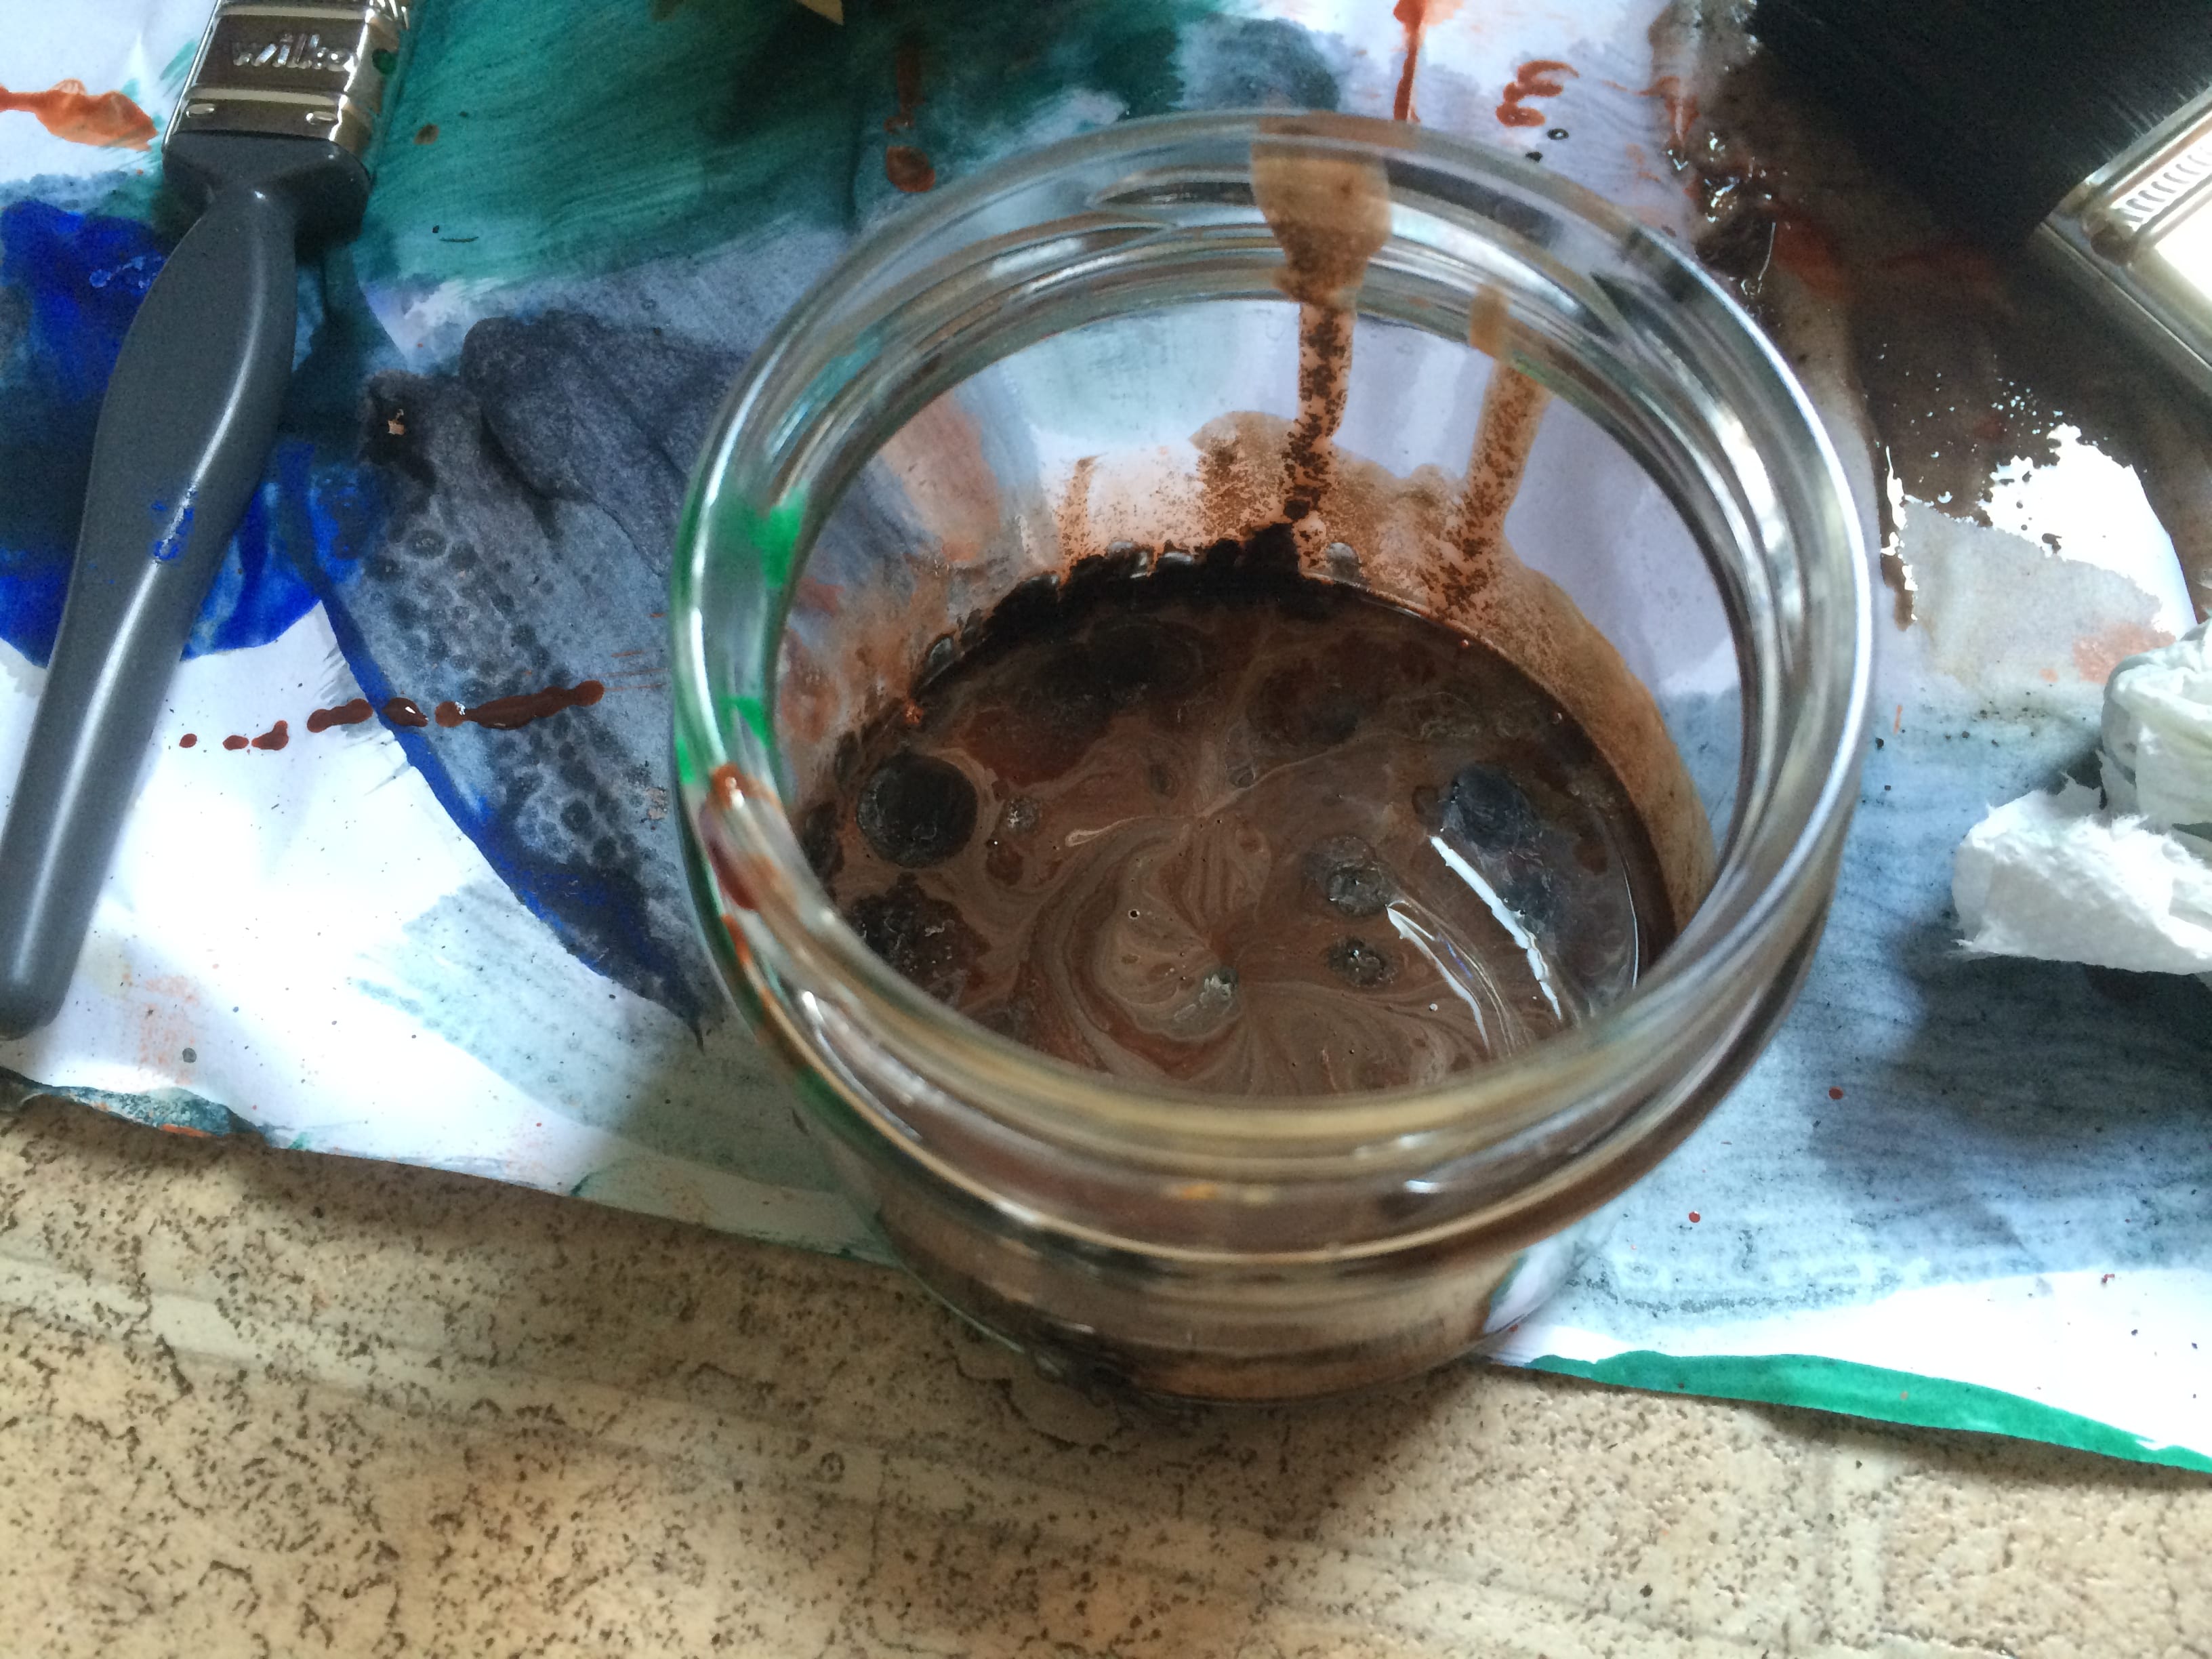
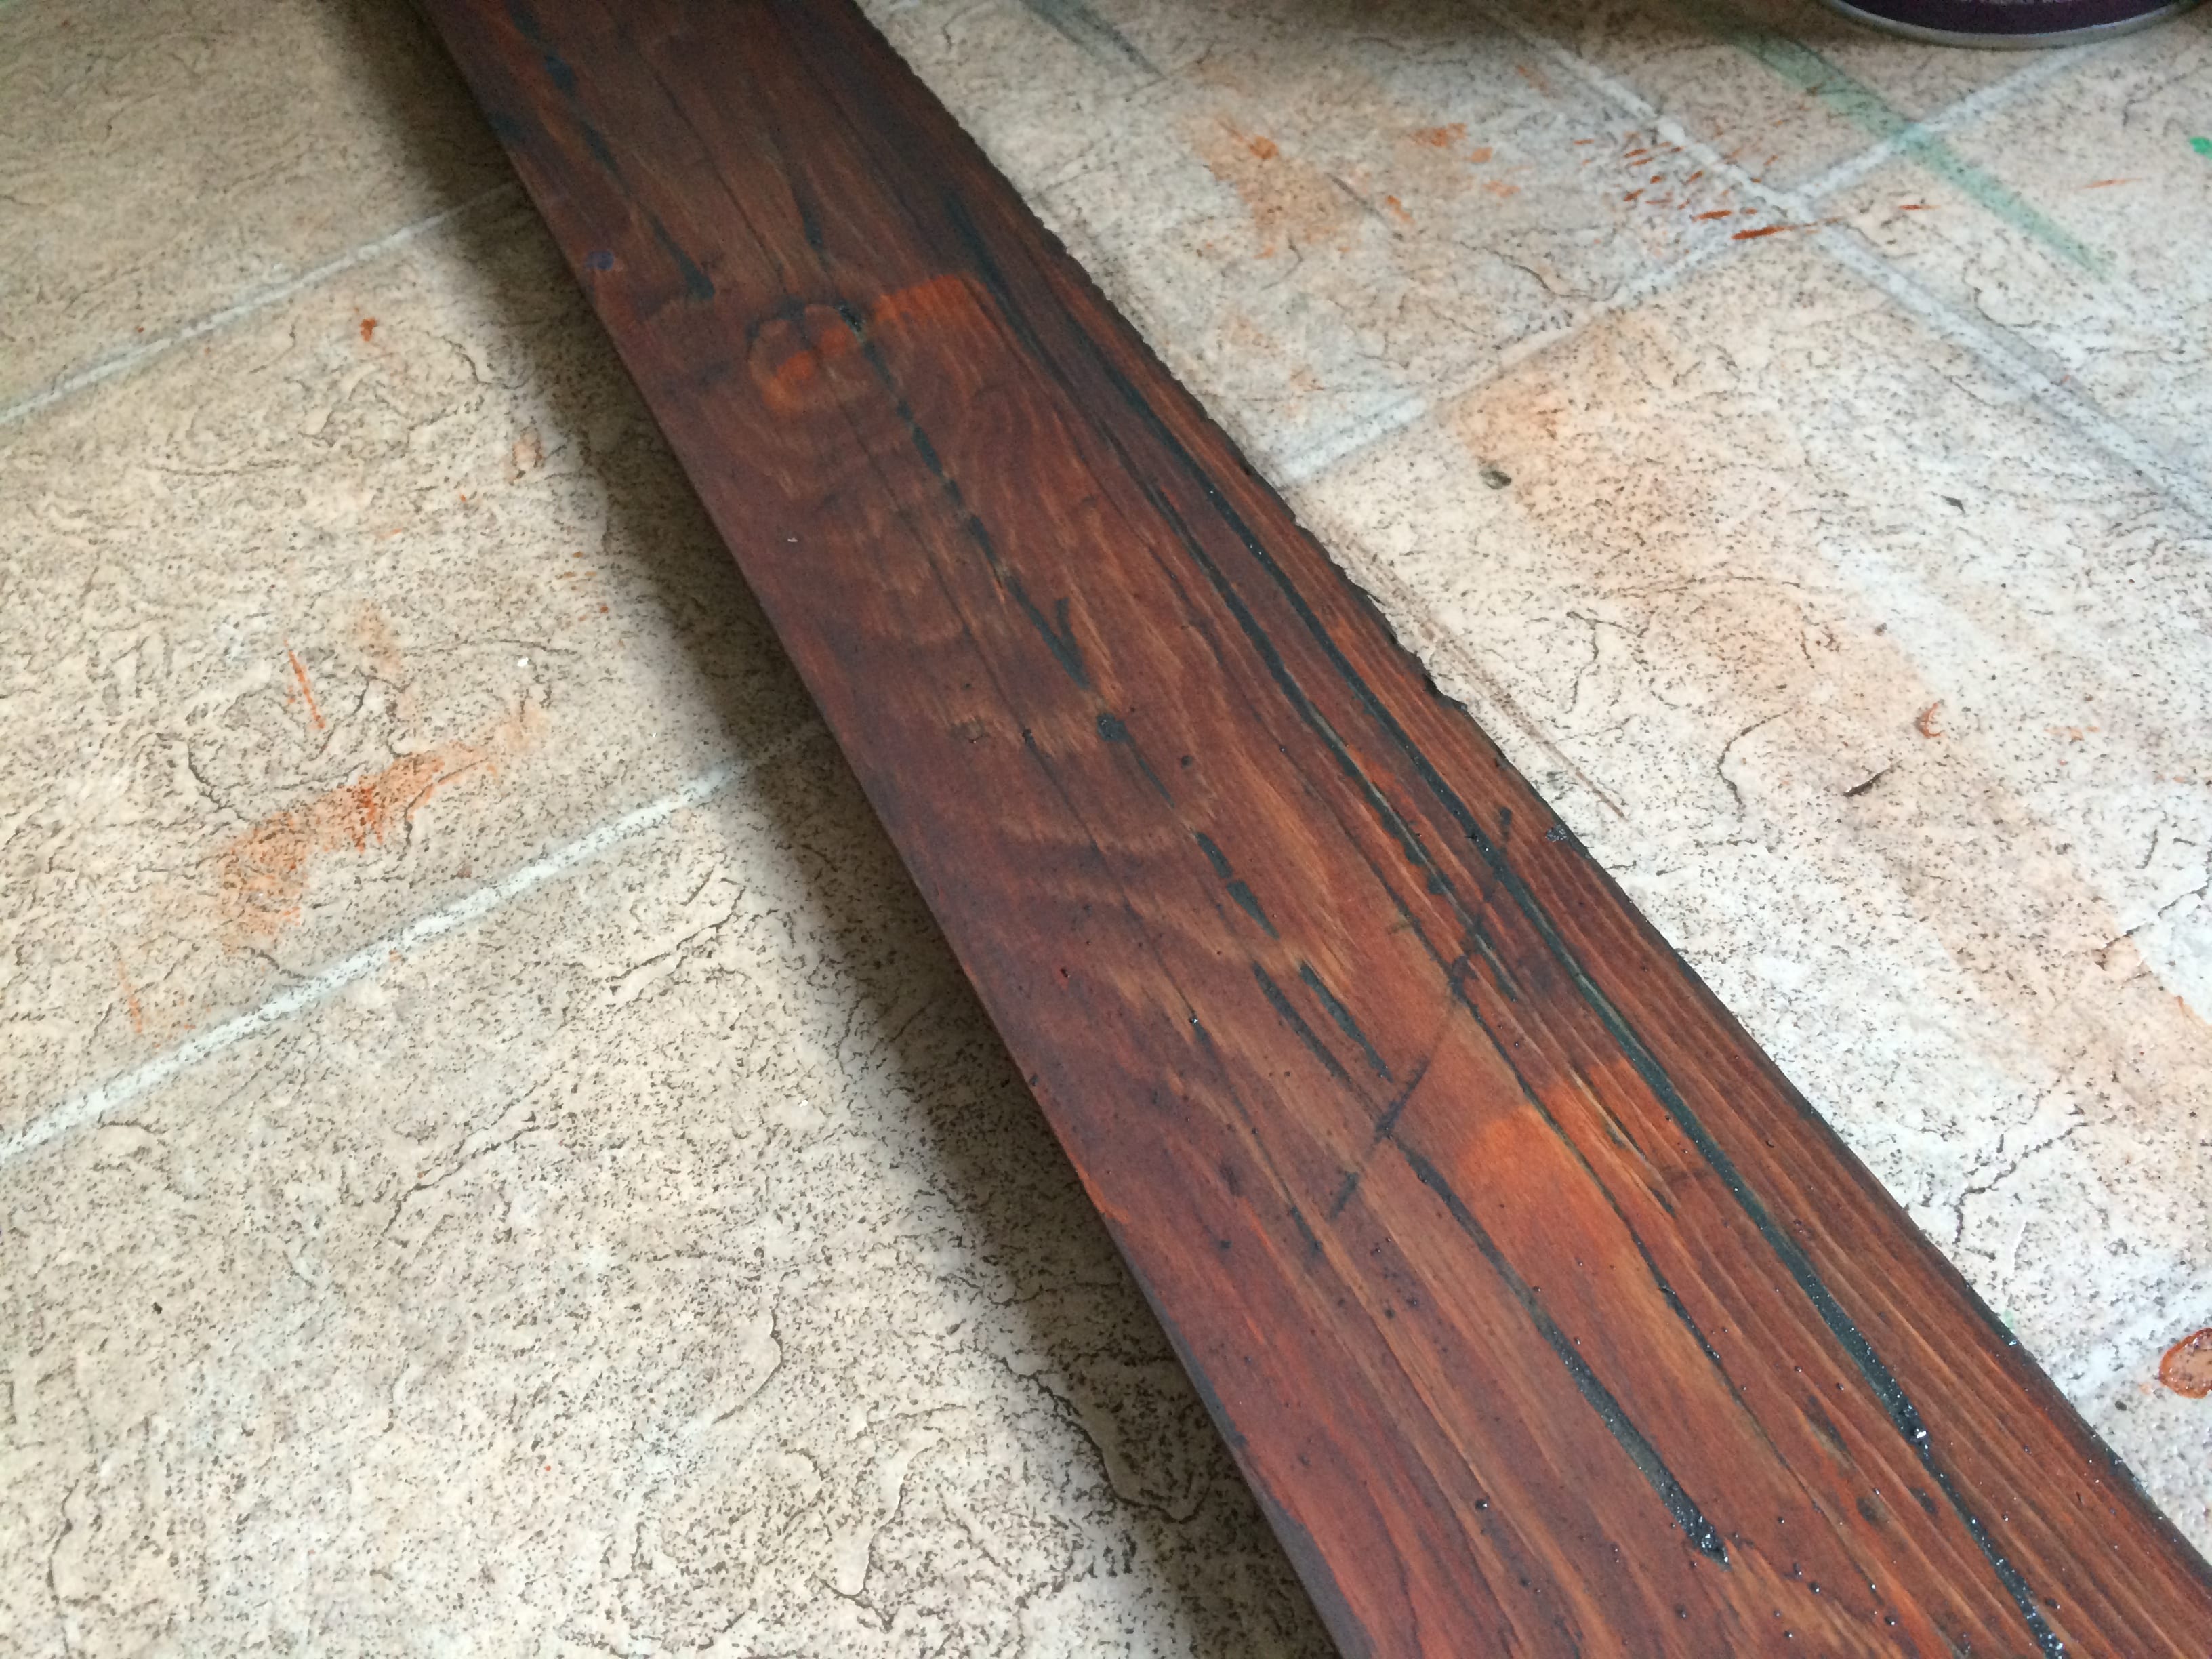
After I had done sufficient damage to the plank, I began to add a layer of different coloured paints including blue, green and black. The paint was perfect for getting into the dents and scratches and accentuating the damage. I then sanded the plank after the paint had dried and applied another layer of varnish. However, this time I blended the varnish with black and white paint to create a dark grey/brown colour. As I was applying this over the other layers of paint, I could make the plank have subtle tones of blue and green – suggesting that it has been used for other things whilst accentuating the damage (particularly on the edges).
I let the final layer dry for an hour and the result can be seen in the image below.
I was very happy with this result as it resembled the plank that I remember. Afterwards, I applied a few extra layers of grey paint to make the plank seem more damaged and sun soaked. Otherwise, I am happy with the plank and think it will substantially aid the storytelling for the audience.